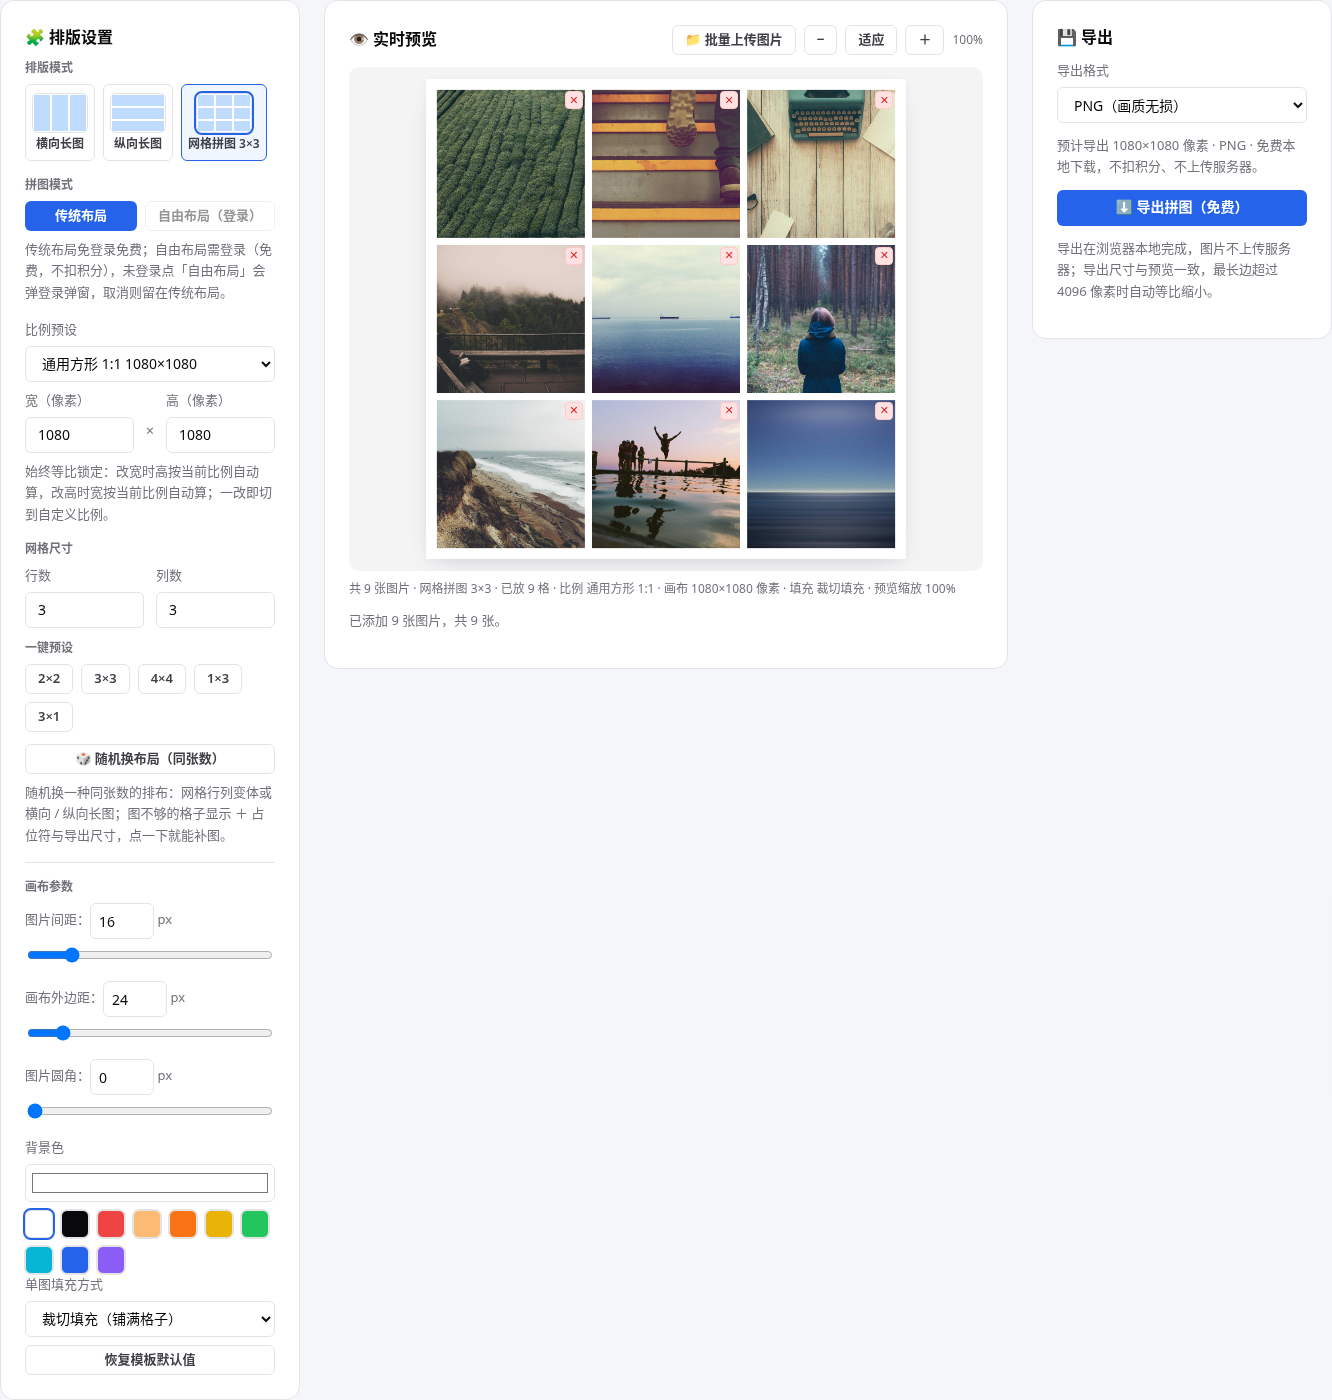
You can build a nine-grid or a long image without opening design software: open Image Collage Maker, click an empty cell to place a photo, pick a horizontal long image, a vertical long image or a grid, adjust spacing, padding and corner radius, and export PNG, JPG or WebP. The classic layout is free with no sign-in, and the free layout is free after sign-in.
Posting photos one by one leaves the order to chance, and a story told across nine separate posts falls apart when the sequence slips. Xiaohongshu wants 3:4 images, a WeChat official account cover wants 2.35:1, and the sizes are hard to remember, so switching platforms means building the collage again. Phone photo apps have plenty of templates, but editing one image at a time is slow. Image Collage Maker on this site opens in the browser: click a cell to place a photo, and layout, settings and export sit in one workbench. Everything runs locally in the browser, and no image is uploaded to a server.
Classic layout: four steps to a collage
- Add photos: click an empty cell on the canvas to pick photos, several at once, and multiple picks fill the empty cells in order. You can also click 「📁 Batch upload images」 in the preview title bar to pick several at once, or drag files from your computer onto a cell or onto blank canvas.
- Pick a layout: switch between horizontal long image, vertical long image and grid with the three thumbnails under 「Layout mode」 on the left. For a grid, enter rows and columns, each 1 to 20, default 3×3. One-click presets cover 2×2, 3×3, 4×4, 1×3 and 3×1. With 2 photos placed, 「🎲 Shuffle layout (same count)」 switches to another arrangement for the same photo count.
- Set the ratio: six presets, square 1:1, Xiaohongshu 3:4 (1242×1660), Instagram portrait 4:5, long image 9:16, WeChat official account cover 2.35:1, and Pinterest 2:3. Change one number in the width and height boxes and the other follows the ratio. The ratio stays locked, and any change switches to a custom ratio.
- Adjust the settings: image spacing 0 to 100 pixels, default 16; canvas padding 0 to 200 pixels, default 24; image corner radius 0 to 100 pixels, default 0; background colour from a colour picker with 10 preset swatches, default white; fill mode is crop-to-fill or fit-with-margin, default crop-to-fill. Every slider has a number box, and the two stay in sync.
- Check the preview: the preview is 480px tall at 100%, and its width follows the canvas ratio. Zoom 「− / Fit / +」 moves in 25% steps from 25% to 200%. The summary below the preview always shows how many cells are filled, how many photos are unplaced, the ratio and the canvas size.
- Export: pick PNG, JPG or WebP in the panel on the right and click 「⬇️ Export collage (free)」 to download. The export info always shows the expected size and format, and the button stays disabled while the canvas is empty.
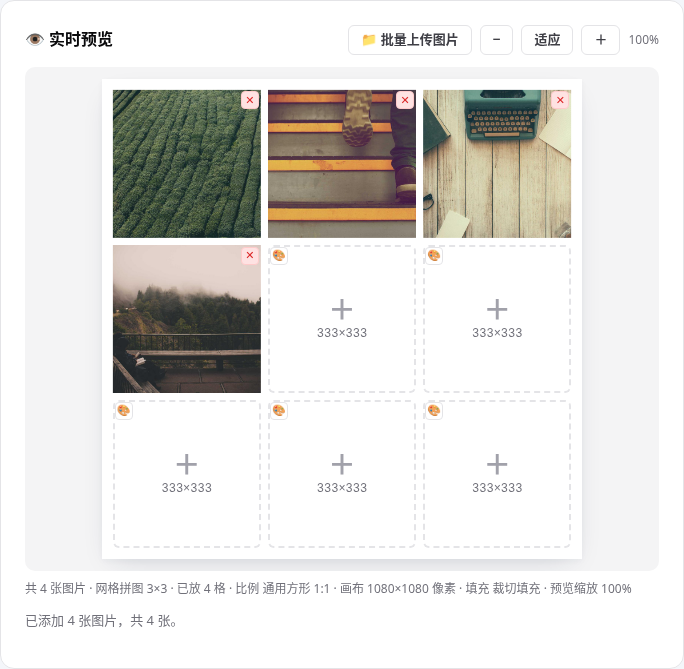
Empty cells, fill colours and swapping
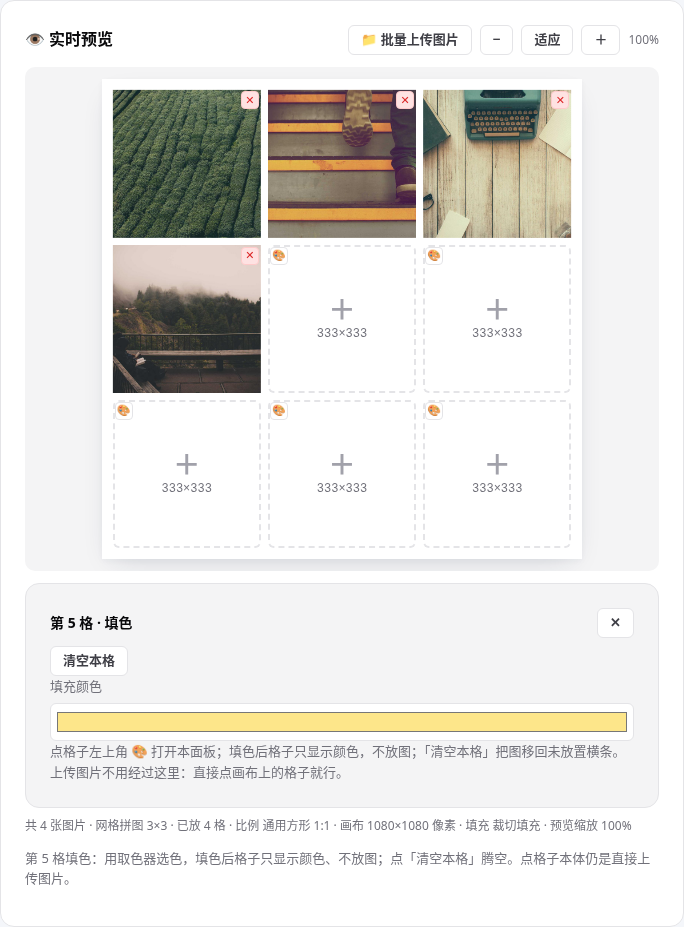
This tool has no upload list. The canvas is the workspace. An empty cell shows + and its export size in pixels, and one click opens the file picker. Click a filled cell to replace its photo. The red ✕ in the top-right corner of a cell deletes its photo in one click, with no confirmation. Drag a cell onto another cell: an empty target takes the photo, and a filled target swaps the two cells. The 🎨 button sits in the top-left corner of empty cells only. Click it to open the fill panel, pick a colour, and the cell shows that colour alone. 「Clear this cell」 sends the photo back to the unplaced strip.
Free layout: irregular grids and free-form collage
Click 「Free layout (sign-in)」 on the left. Without a sign-in, a login popup appears, and cancelling leaves you on the classic layout. After sign-in it is free, with no points charged. It has two sub-modes: irregular grids and free-form collage.
Irregular grids: 24 layouts
- Pick 2 to 9 photos in the image count dropdown. Only the 3 thumbnails for that count show below it. When the new count has no current layout, the first layout for that count is picked automatically.
- Switching layouts keeps the same cells in place, and extra photos go to the 「Unplaced images」 strip. A fill colour stays on its original cell and does not move with a photo.
- Click 「🎲 Shuffle irregular layout (same count)」 to switch to another layout for the same photo count, with at least 1 photo placed. Clicking a cell to upload, filling a colour, dragging to swap and deleting with the red ✕ all work the same as in the classic layout.
Free-form collage: drag, scale and rotate
- Switch to 「Free-form collage」. Click 「📁 Add images to canvas」 to pick photos, and each one lands in the centre of the canvas as a new layer. You can also drag a file onto the canvas to create a layer where you drop it, or click a photo in the unplaced strip to put it on the canvas.
- Drag a layer on the canvas to move it. Select a layer and drag one of the 4 corner handles to scale it, or drag the round handle above the selection box to rotate it. The number box in the layer panel takes an angle directly, from -180 to 180 degrees, and checking 「Snap rotation to 15°」 snaps dragged rotation to 15° steps.
- Each row in the layer list has ↑ ↓ ⤒ ⤓ buttons to move a layer up, down, to the top or to the bottom, with the top and bottom buttons greyed out at the ends. Drag a layer row itself to reorder, and the red ✕ in the top-right corner deletes the layer in one click. A photo can hang more than halfway off the canvas, but its centre must stay inside, and the part outside the canvas is cropped on export.
Export: format, size and limits
Export as PNG, JPG or WebP. Choosing JPG shows a quality slider, adjustable from 0.5 to 1, with 0.92 by default. The export size matches the preview, and the longest side over 4096 pixels is scaled down proportionally. One image must not exceed 20MB, PNG, JPG or WebP only, and no more than 30 images in total. Layout settings are cached in the browser.
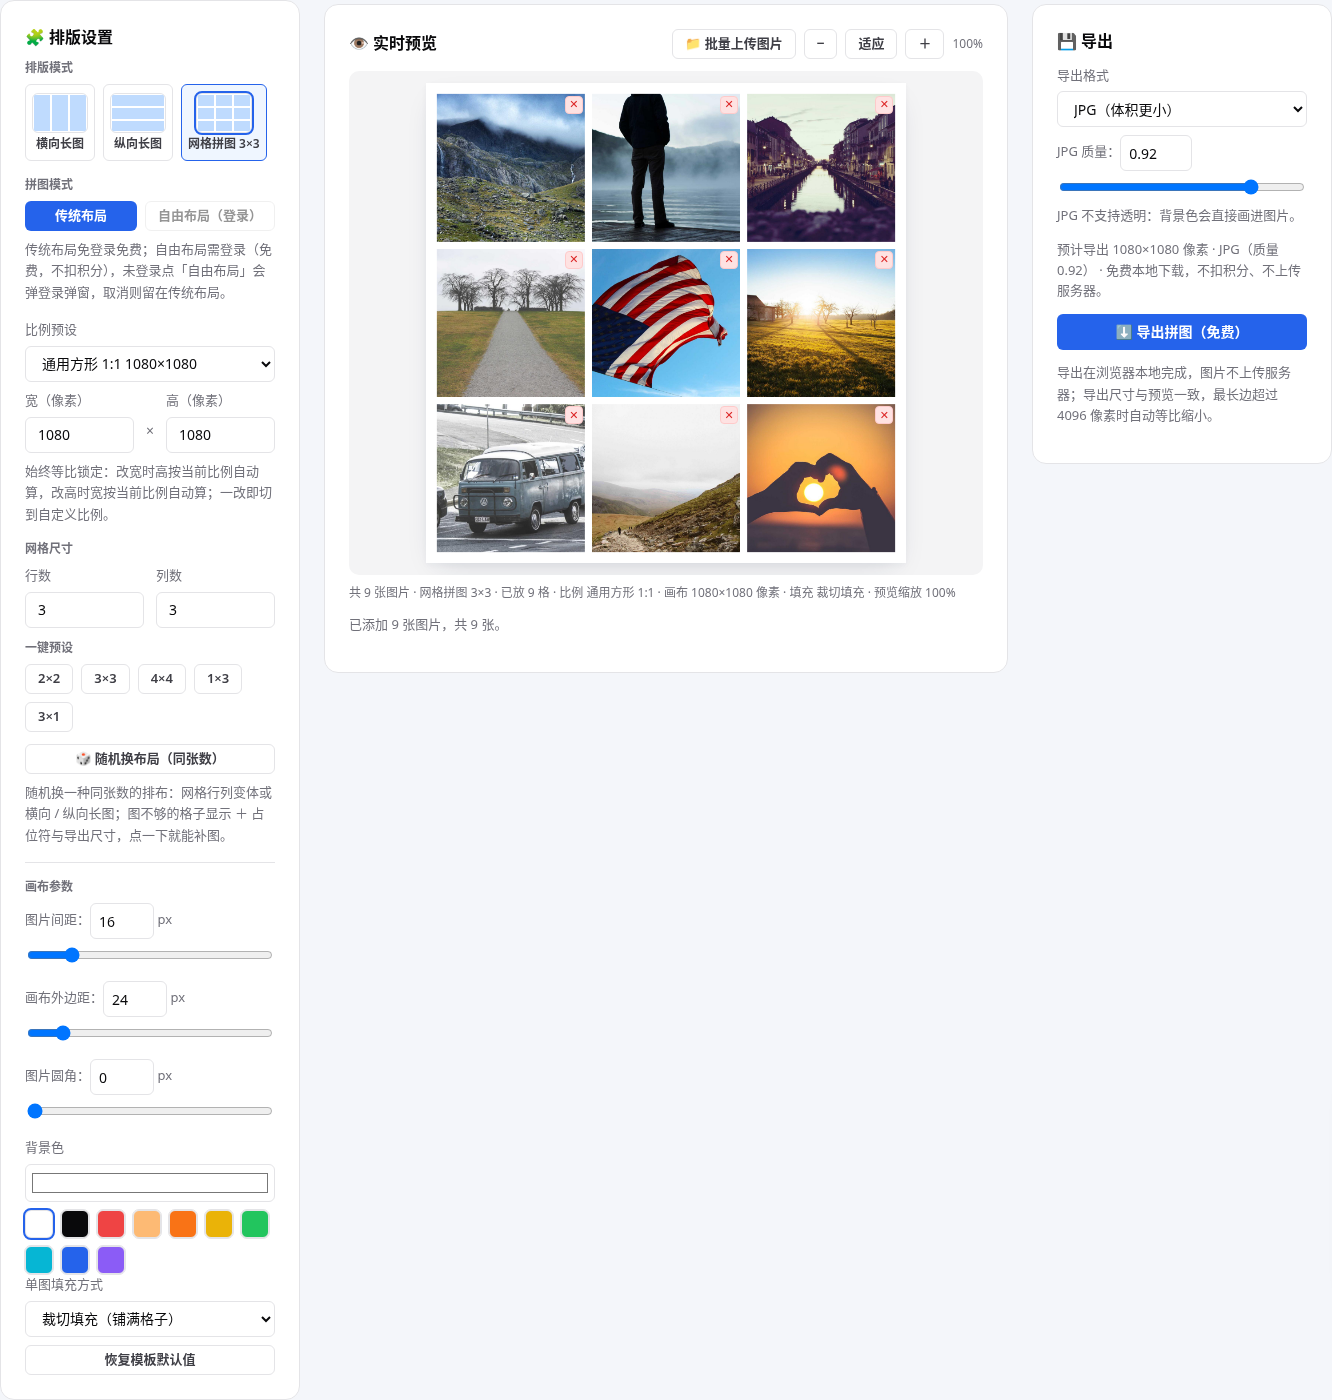
A screenshot needs no file first: take a screenshot, then press Ctrl+V on the page to paste it into the first empty cell. When the current layout has no empty cell, the image goes to the unplaced strip first, and the status line says so.
A collage is only the start: to pair it with a cover image, use MicaCover on this site. To combine several files into one document for a customer, use PDF Merge.
Which of the three modes to use
| Mode | Best for | How it works | Sign-in |
|---|---|---|---|
| Classic layout | Nine-grid, horizontal and vertical long images, tidy layouts | Click cells to place photos, rows and columns 1–20 | Free, no sign-in |
| Irregular grids | Uneven collages, one large photo with several small ones | Pick 2–9 photos in the count dropdown, click a layout thumbnail | Free after sign-in, no points charged |
| Free-form collage | Free placement and rotated, overlapping photos | Drag layers, scale with corner handles, rotate with the top handle | Free after sign-in, no points charged |
👉 Open the Image Collage Maker now and make a collage: click the empty cells to place 9 photos, pick a 3×3 grid and the 1:1 square preset, and export as PNG.