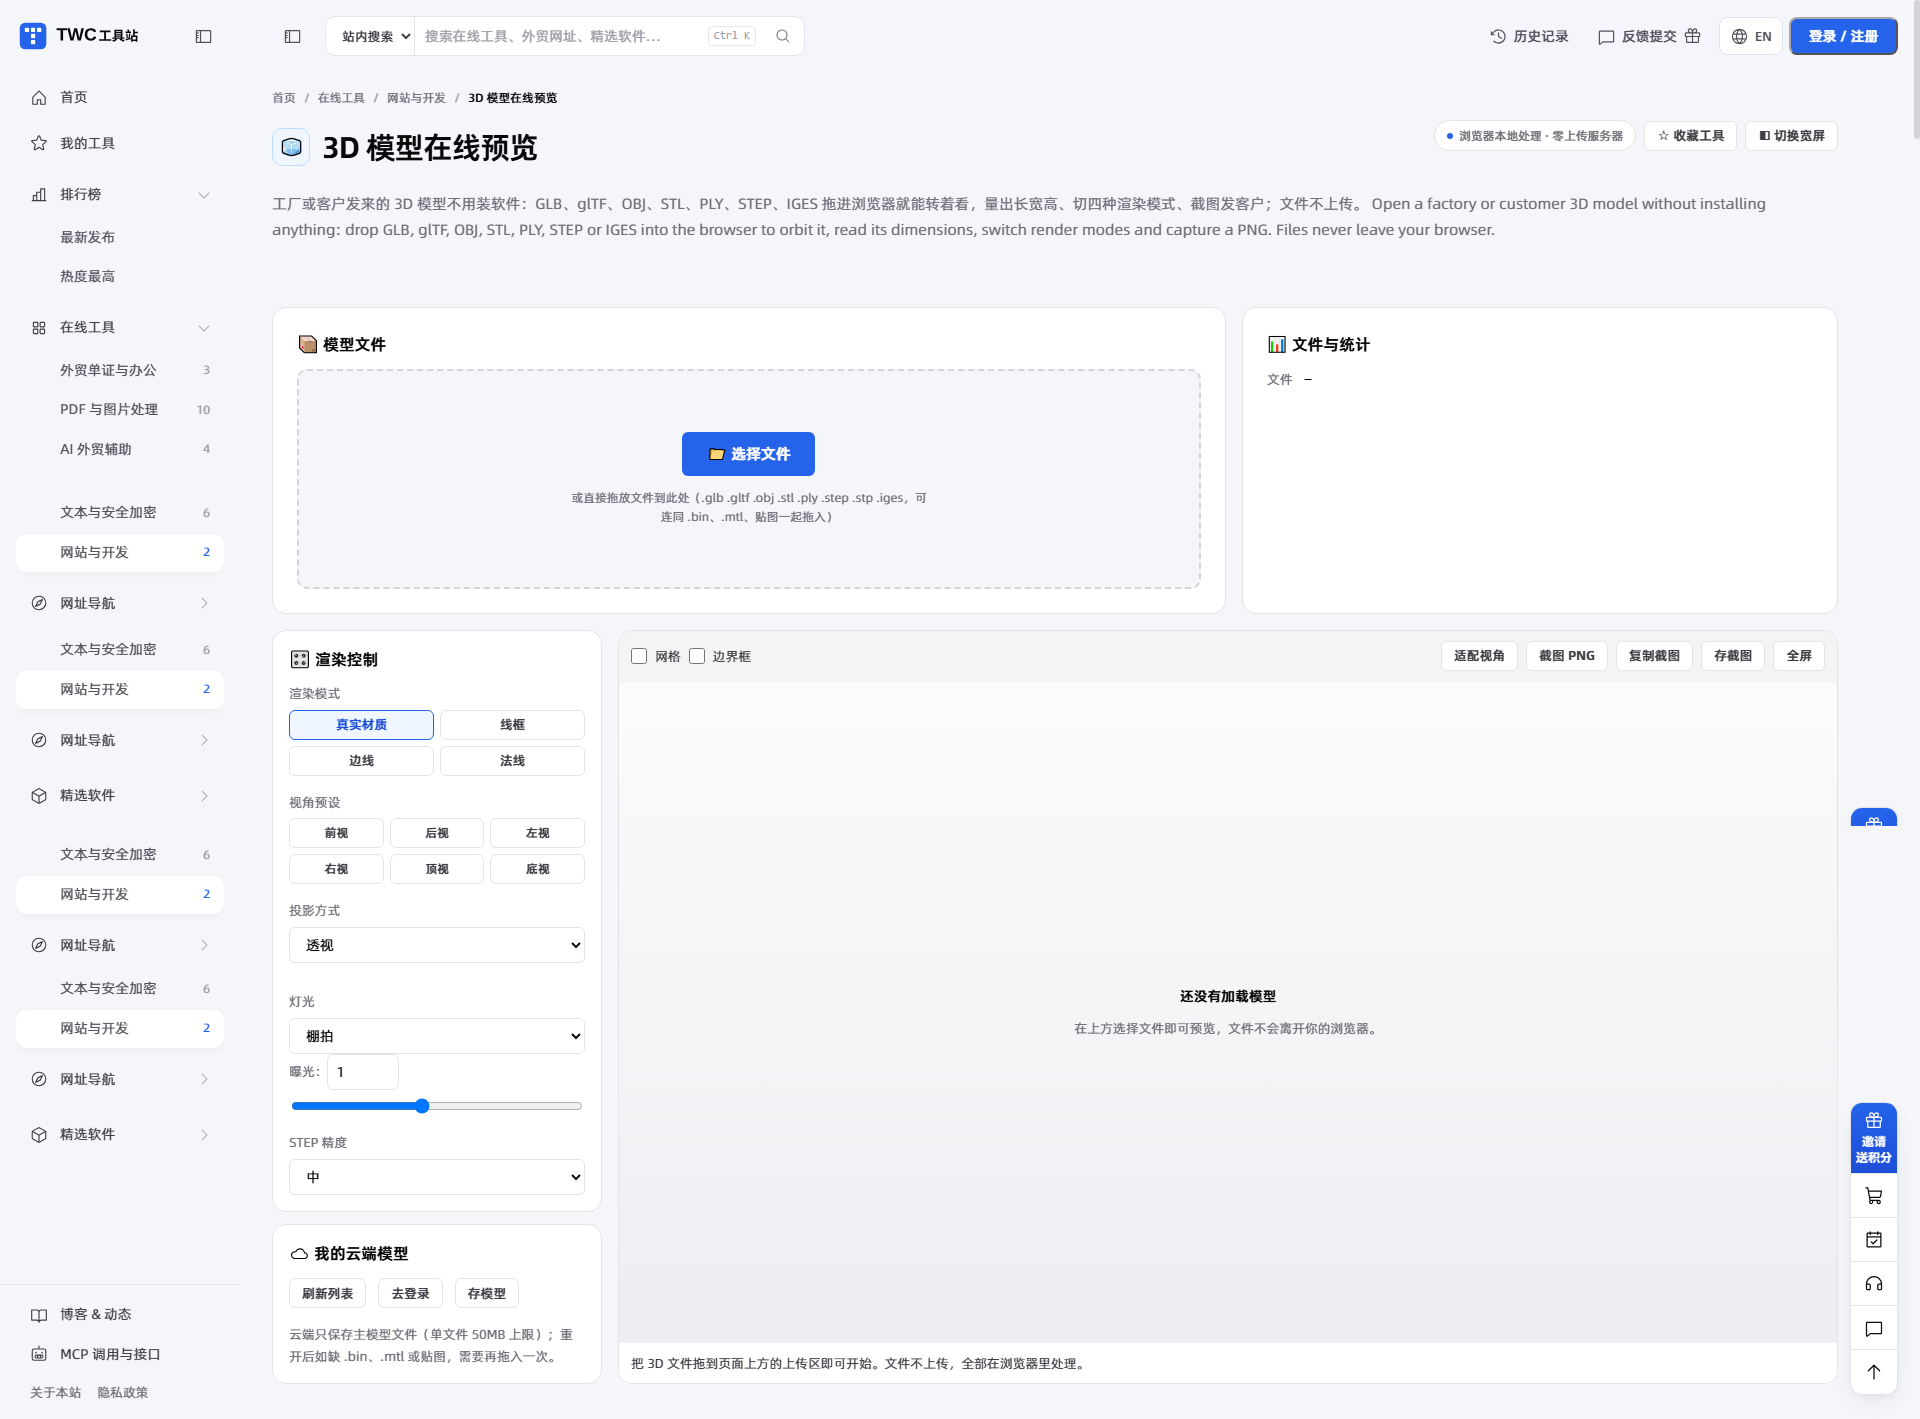
A STEP drawing from your customer, a GLB from the designer, an STL from the print shop: drop any of them into the browser, with no CAD install and no conversion. Switch six camera views, read dimensions from the bounding box and capture a PNG for your reply.
Quotes and sampling bring more 3D files than you would expect. A customer sends a STEP drawing to confirm the structure, the designer sends a GLB to show the look, the print shop sends an STL to confirm wall thickness. Without SolidWorks or KeyShot installed, double-clicking the file only gets a dialog saying no app can open it. Online converters mean uploading, waiting and watching for an email.
Dropping the file into the browser removes both steps, the install and the conversion. The model renders locally and is never uploaded, so closing the page leaves nothing behind.
Supported formats and what to watch
| Format | Where it comes from | What you see | What to watch |
|---|---|---|---|
| GLB / glTF | Store product models, design hand-off | Geometry, materials and textures | A split glTF needs its .bin and textures dropped in together |
| OBJ | General modeling exchange | Geometry, plus materials with an .mtl | Without .mtl and textures it shows as a grey model |
| STL / PLY | 3D printed parts, scans | Triangle meshes | The file declares no unit, so numbers are shown as they are |
| STEP / STP, IGES / IGS | Customer drawings, structural design | Surfaces converted to a mesh | Preview only: assembly trees and modeling features are not readable |
STEP and IGES run through a CAD kernel inside the browser, which tessellates the surfaces into a mesh at one of three settings: 「Low (fast)」, 「Medium」 or 「High (heavy)」. Higher settings stay closer to the original surfaces and cost more performance when converting and orbiting.
Five steps to a clear look
- Open 3D Model Viewer and drop the file into the upload area at the top of the page, or click 「📁 Choose files」.
- Drop a split glTF or a textured OBJ in one go. The first model file becomes the main file, and .bin, .mtl and textures attach as companion files. The status line tells you what is missing.
- The first load downloads the engine (about 2 MB, plus about 7 MB of CAD kernel for STEP). Once the model appears, drag to orbit and scroll to zoom.
- Pick a render mode and a camera preset in the left column, and tick 「Show grid」 or 「Show bounding box」 in the viewport bar.
- Click 「Capture PNG」 to download, or 「Copy image」 to paste the image straight into a chat window.
When to use each render mode
| Mode | What it shows | When it helps |
|---|---|---|
| Material | The model with its own materials and textures, lit by studio, bright or dim lighting | Showing the finished look to a customer, or capturing a product image |
| Wireframe | Only the edges of the triangle mesh | Checking mesh density and where the polygons go |
| Edges | The solid with outline edges on top | Reading structural turns and separate parts, clearer in a screenshot than flat colour |
| Normals | Colour driven by normal direction | Spotting flipped faces and holes |
Six camera views, orthographic projection and the bounding box
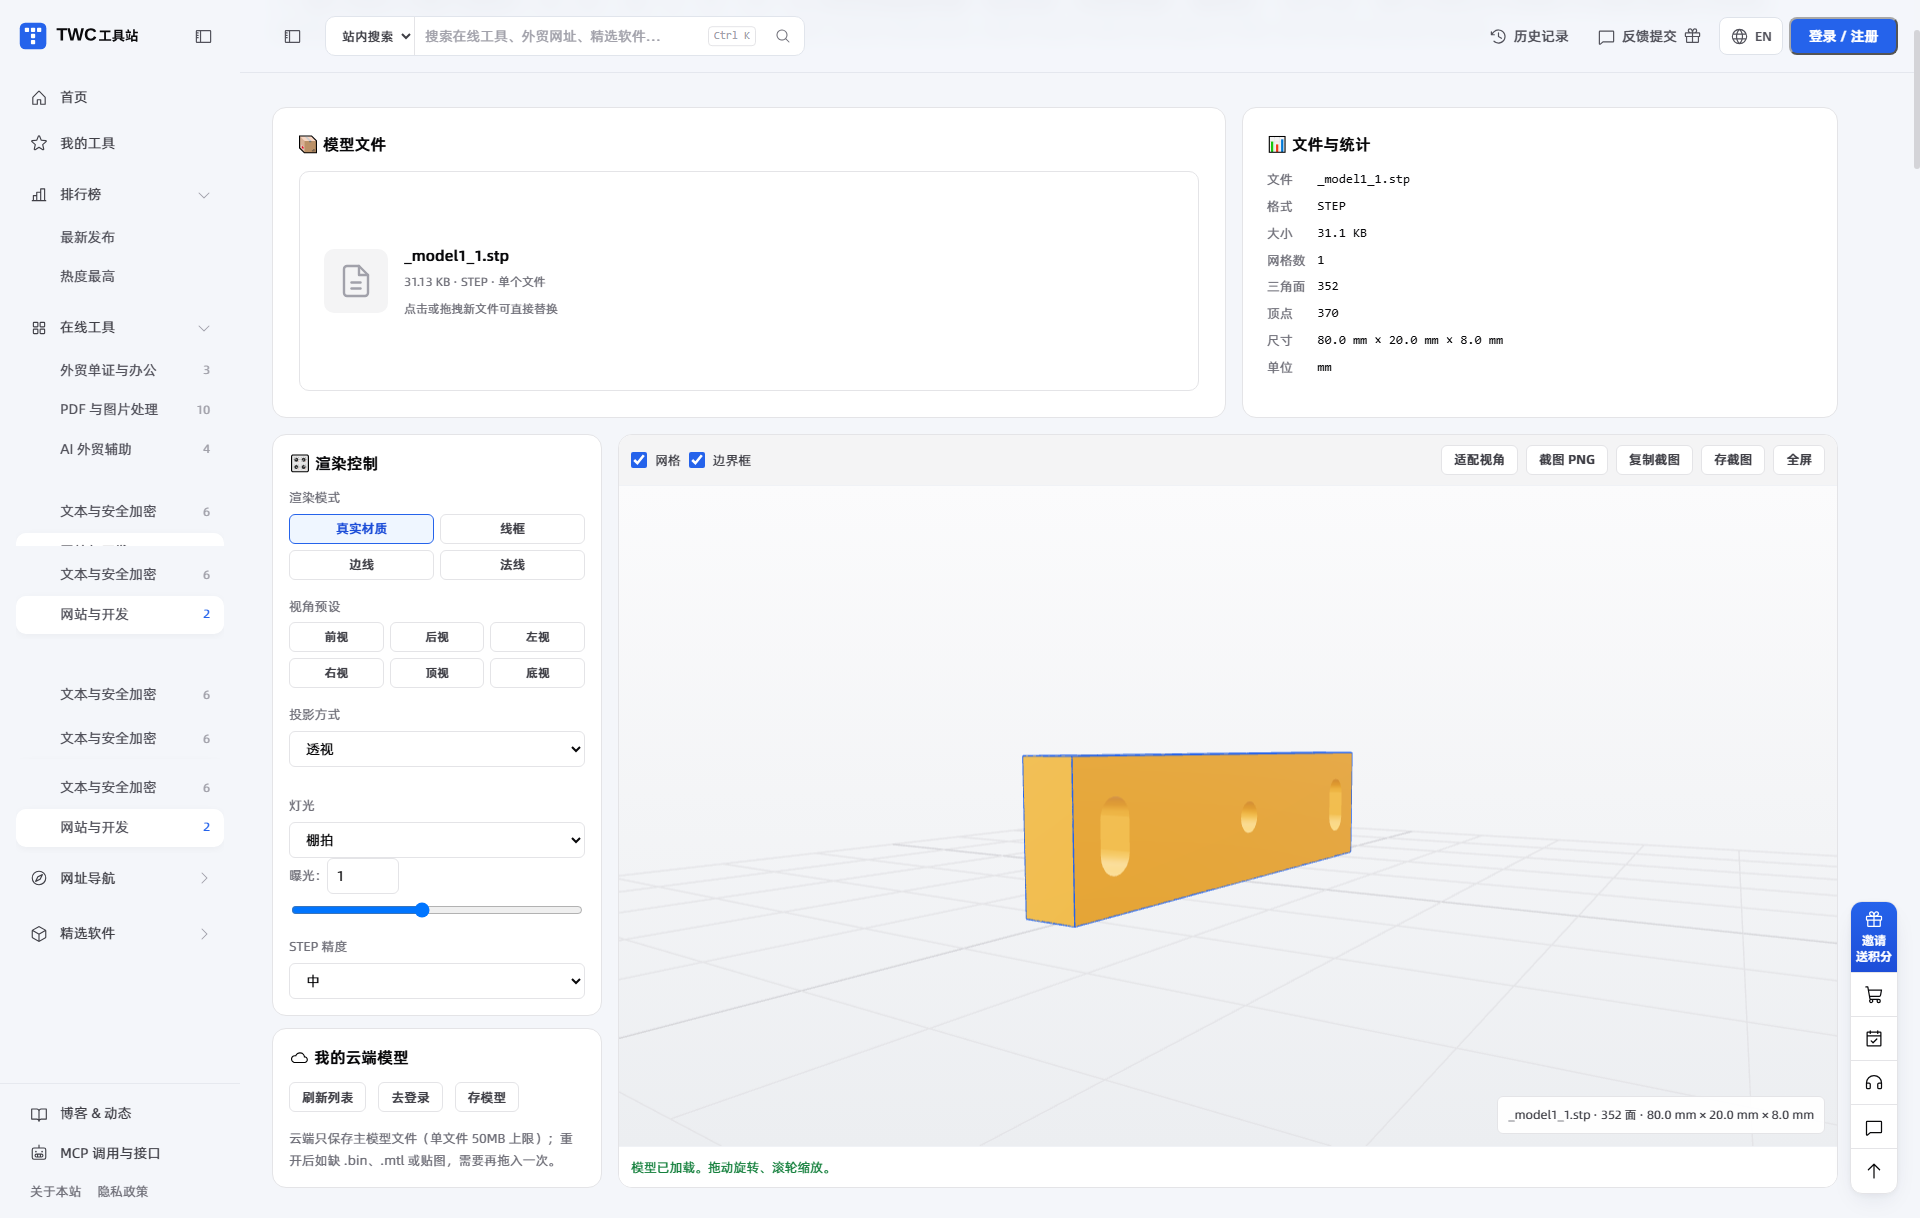
Front, back, left, right, top and bottom each snap the camera to a straight-on direction with one click, and 「Fit view」 brings the model back to the centre of the view. Switching projection to 「Orthographic」 removes perspective foreshortening, so proportions line up when you compare the six directions. Tick 「Show bounding box」 and the box follows the model, with the dimensions kept in the statistics panel and in the persistent summary at the bottom-right of the viewport, so one glance before a capture tells you which version is loaded.
OBJ, STL and PLY files do not declare a unit, so the numbers are shown exactly as they are in the file. Whether they read as mm or inch depends on the export settings.
Limits worth knowing
- One file must be under 100 MB. Anything larger needs a smaller export.
- Above 2 million triangles the status line warns that low-end devices may stutter; that size is better decimated in the original software first.
- One model is rendered at a time. When several model files are dropped together, the first one is used and the status line says the others were ignored.
- SolidWorks and Inventor native formats, .dwg and .dxf are not supported. Export STEP or STL from the original software first.
- Decoding and rendering run in the browser and files are not uploaded. Only 「Save model」 and 「Save PNG」 send anything to cloud storage.
Saved in the cloud, reopened later
After signing in, 「Save model」 stores the current model in the site cloud storage. It reopens from the model name in 「My cloud models」 in the left column, and the account page lists the same files. Cloud storage allows 50 MB per file and 100 MB per account, and only the main file is stored: if .bin, .mtl or textures are missing when it reopens, drop the companion files in again. 「Save PNG」 saves captures the same way, so quote material and rendered images sit in one place instead of being buried in a chat history.
👉 Open 3D Model Viewer now, drop in the STEP or GLB your customer just sent, orbit to two angles, capture a PNG and send it with your reply.